Extremely Consistent Characters with Midjourney
Using In-Paint with Character Sheets.
No fluff, straight into it. Let's go;
disclaimer; Not sure if this will work with Realistic characters, this is for Niji
Breakdown
- Generate your character as a character-sheet
- Start with a happy/neutral expression
- Prefer a sheet with a range of face rotations and eyes open/closed
- Upscale the character you like
- Choose Variations (region)
- Paint a marquee around less than 50% of the character's facial areas
- keep the prompt the same, but at the beginning add your new expression with
::2weight - generate over and over with this technique 🌟
Details
Let's get into the details of how this works.
1. Create your Character
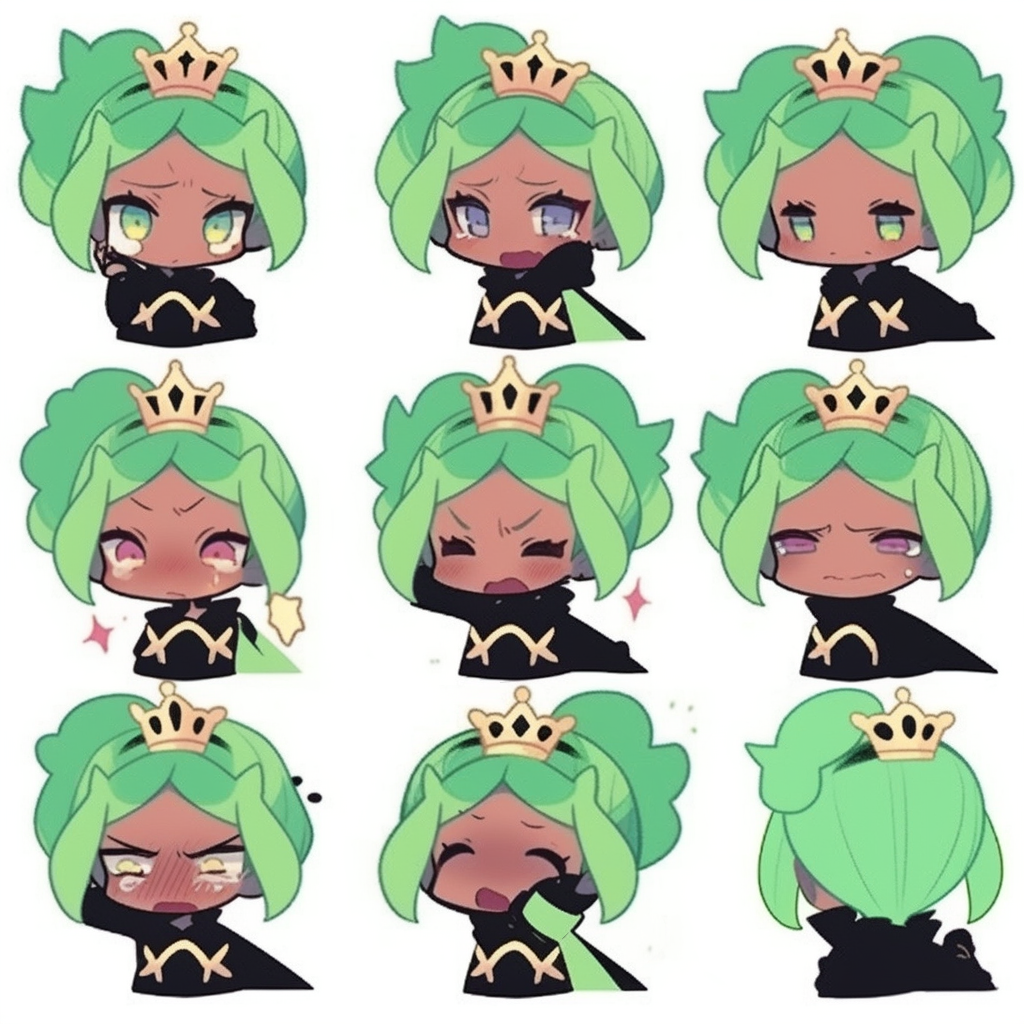
First we will generate a character we like. This can take a while, and we are going to be using it a lot. So take your time to find one you really like.
Here's a prompt I used to get the character below which I liked;
/imagine prompt: chibi black-skinned princess with green hair, close-up character expression sheet, happy expression, crown, isolated on white background --niji --style cute
The ordering of the prompt is helpful to get an expression sheet with mostly faces.

I chose #3 from this grid as it is the one I like this most. Something to note is that #1 and #2 are mostly not-usable because they have different body poses (some torso, some head). It's best to use a grid of the same pose.
❕ You can add grid layout into the prompt if you're having difficulty generating a set of consistent poses in your expression sheet.

Note the expression is mostly happy/neutral.
2. Fix it up
Although I liked this character sheet, there's a couple of outliers or errors, so let's fix those before we begin the big job.
After upscaling I choose vary (region) from the options

And inside the vary (region) interface; I select the outliers and errors with the marquee tool.

The prompt remains mostly the same so that the AI can re-create the style, but I purposefully added in
purple eyeshere near the beginning of the prompt to force some open eyes in the purple colour I wanted.
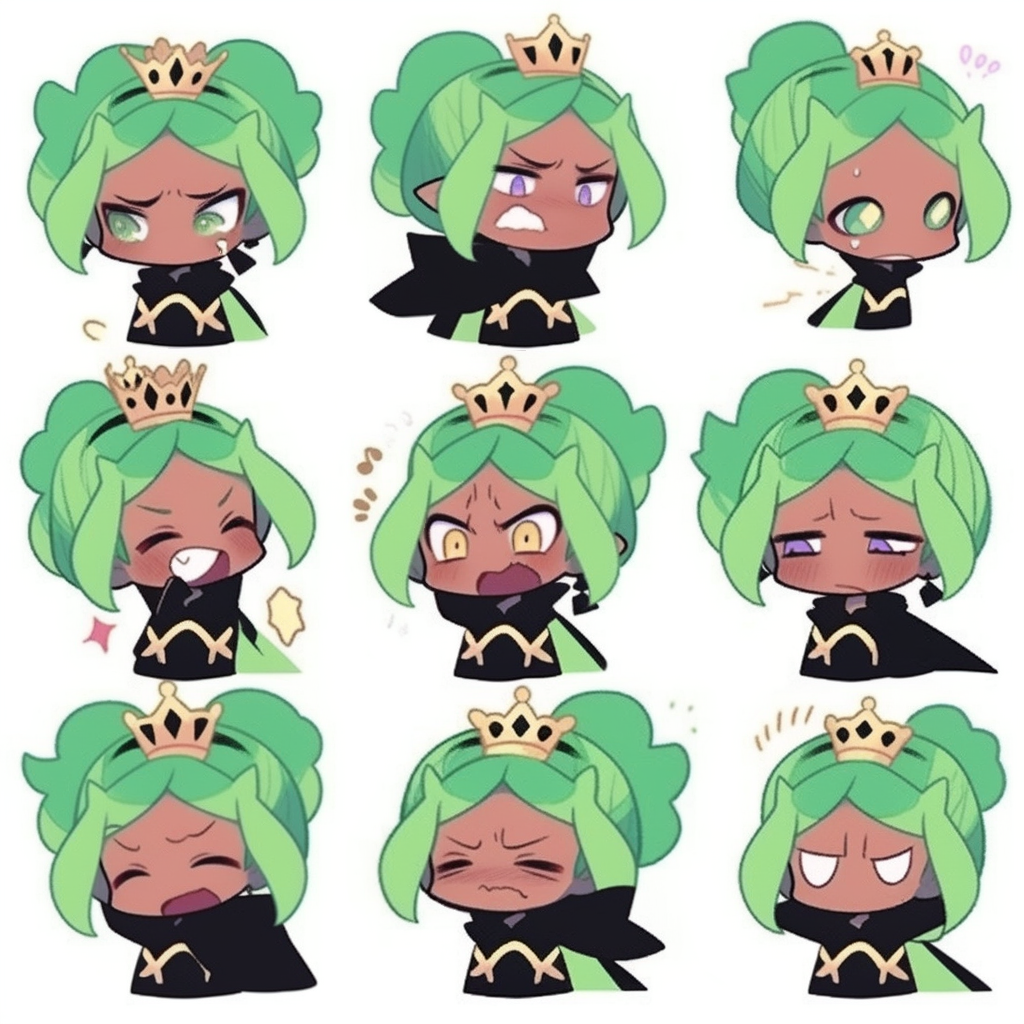
And here's the result;

⚠ I didn't quite get the purple eyes I wanted, but it's OK because I'll leave in that prompt from now-on, and it'll eventually come back in as we replace more and more of the expressions.
✨ WE NOW HAVE OUR CHARACTER READY TO GENERATE LOTS OF CONSISTENT COPIES!! ✨

3. Variations & variations
We will now continue the process of using vary (region) to start getting more and more different expressions of our consistent character!
Open up the Variation (region) interface, and then as shown below, we want to select less than 50% of the character's expressions to modify/vary.
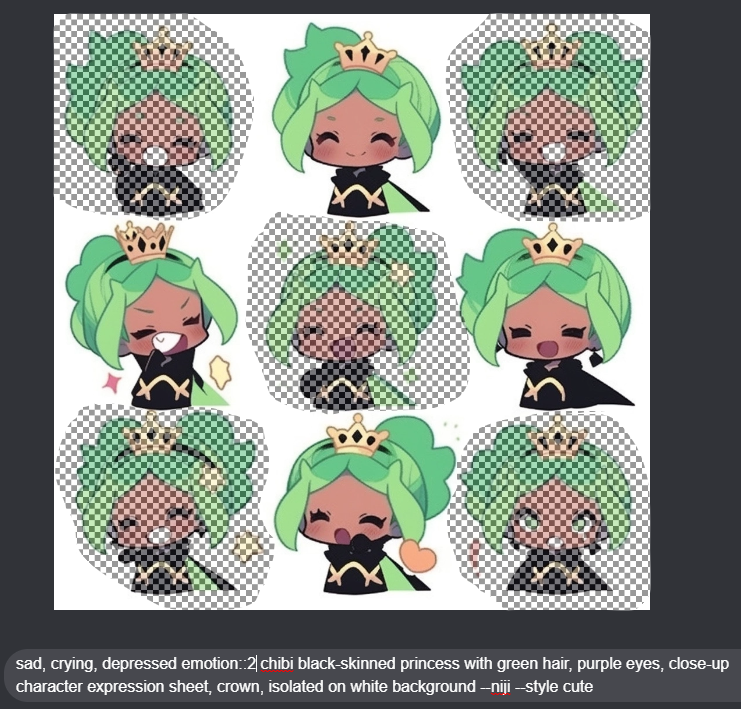
Set the prompt to be the same as before, but with the new emotions at the front of the prompt with ::2 weighting. This will help ensure the AI considers the new expressions over the existing ones.
sad, crying, depressed emotion::2 chibi black-skinned princess with green hair, purple eyes, close-up character expression sheet, crown, isolated on white background --niji --style cute
❔ Why only selecting less than half the existing expressions to change?
This is so that the AI has enough references inside of the current image (more than half, giving it heavy weight) to draw on as the reference.
❔ Why not just cut the image in half with the marquee?
Because when selecting a large, un-broken region on one side of the image to vary, it tends to get more chaotic and not follow the existing character reference. Using these randomly circled areas means the AI is selecting references all around.
❔ Why not replace the whole prompt?
We keep most of the original prompt as it helps the AI to get closer to the original style that our character was born from, keeping the fidelity and coherency.
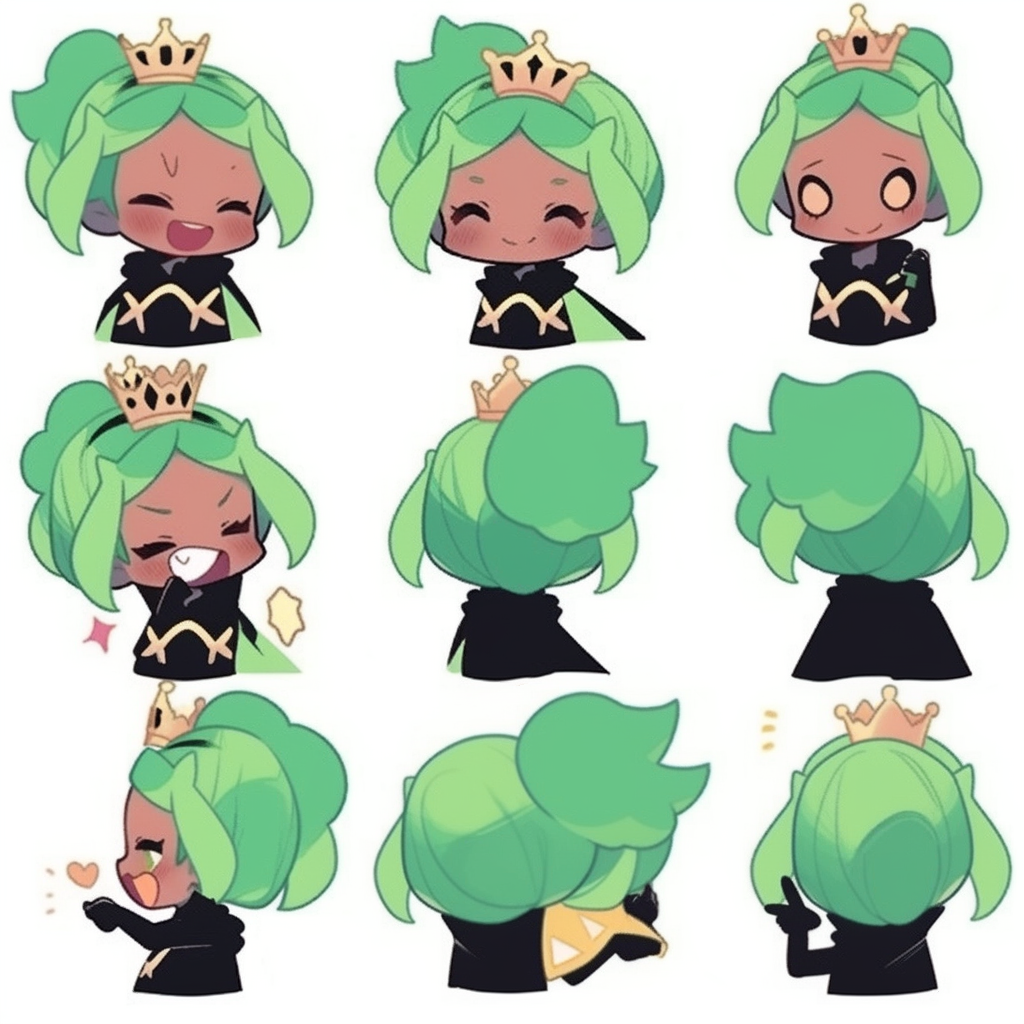
And here's the result grid;

I chose #3 to upscale. Which I thought looked really good, and even has a side-on view which is cool!

4. Rinse and Repeat
From here on out, it's just a matter of repeating this process while selecting different, random areas of the image to replace.
For example; here I select just a pair of eyes, and also just the inner face to replace, helping to keep some of the nice details and postures;
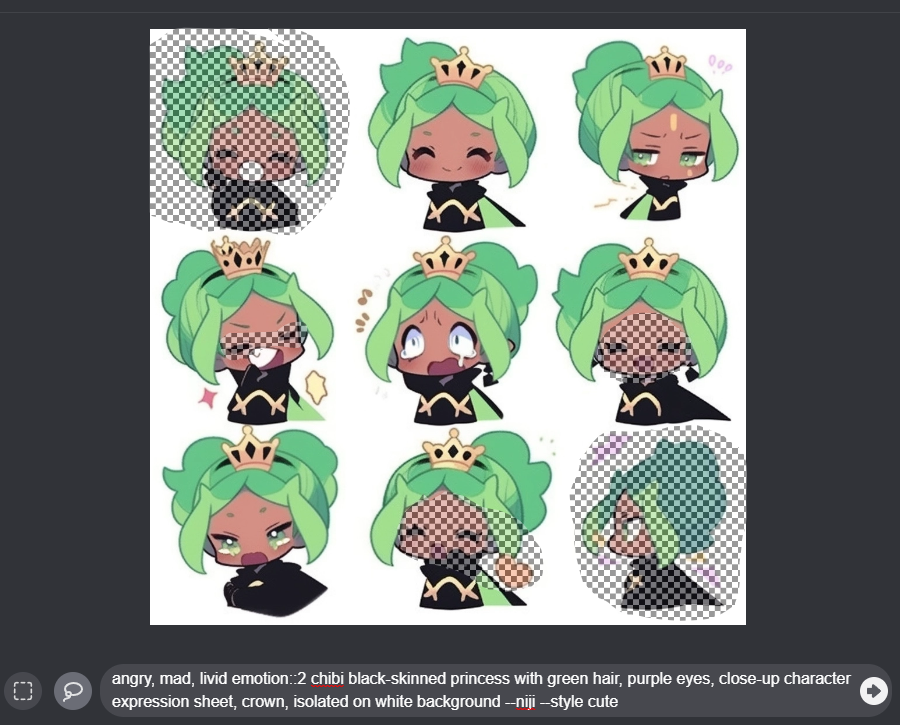
angry, mad, steaming red-face, vein emotion::2 chibi black-skinned princess with green hair, purple eyes, close-up character expression sheet, crown, isolated on white background --niji --style cute
which gave me this result;
5. Ideas / Further
Here's a few examples of different "expressions" you can try.
- Side / Back View
side-view, back-view from side, from behind::3 chibi black-skinned princess with green hair, purple eyes, close-up character expression sheet, crown, isolated on white background --niji --style cute
Use side-view or back-view to try and get more varying poses for your character once you have enough expressions!
- Chaos
scared, horror, blue-lines, ice face fearful expression::3 chibi black-skinned princess with green hair, purple eyes, close-up character expression sheet, crown, isolated on white background --chaos 20 --niji --style cute
try using --chaos 20 or more to add more spice to your variations, but remember to still isolate to small areas, or you will have no consistency!
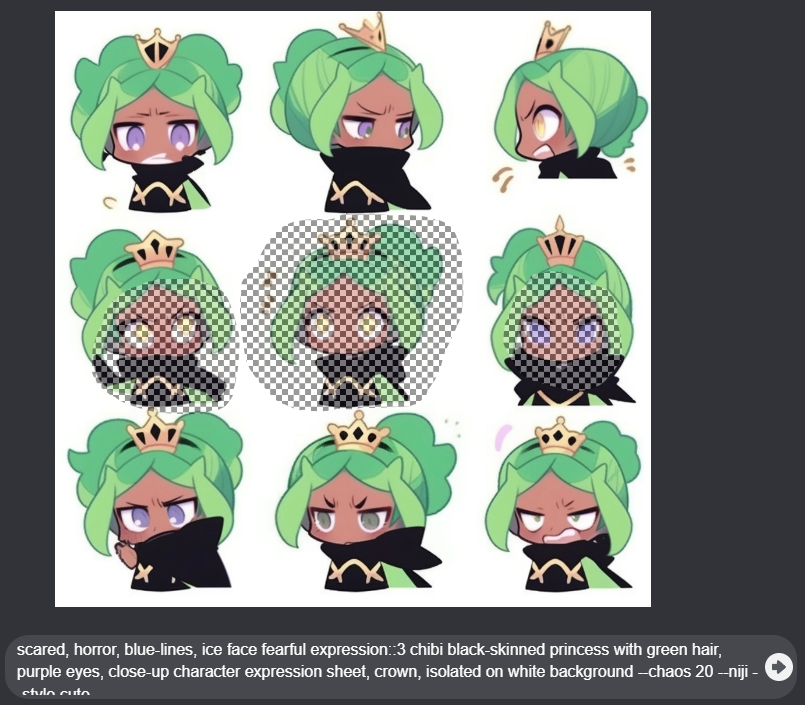
which generated this!

and this when using sad, crying, depressed emotion::3 and --chaos 20

Wrap-up
I hope this opened your mind and inspired you to try your own consistent characters!
(This is working super-well for me on anime characters in Niji, and here's a final example to prove it)
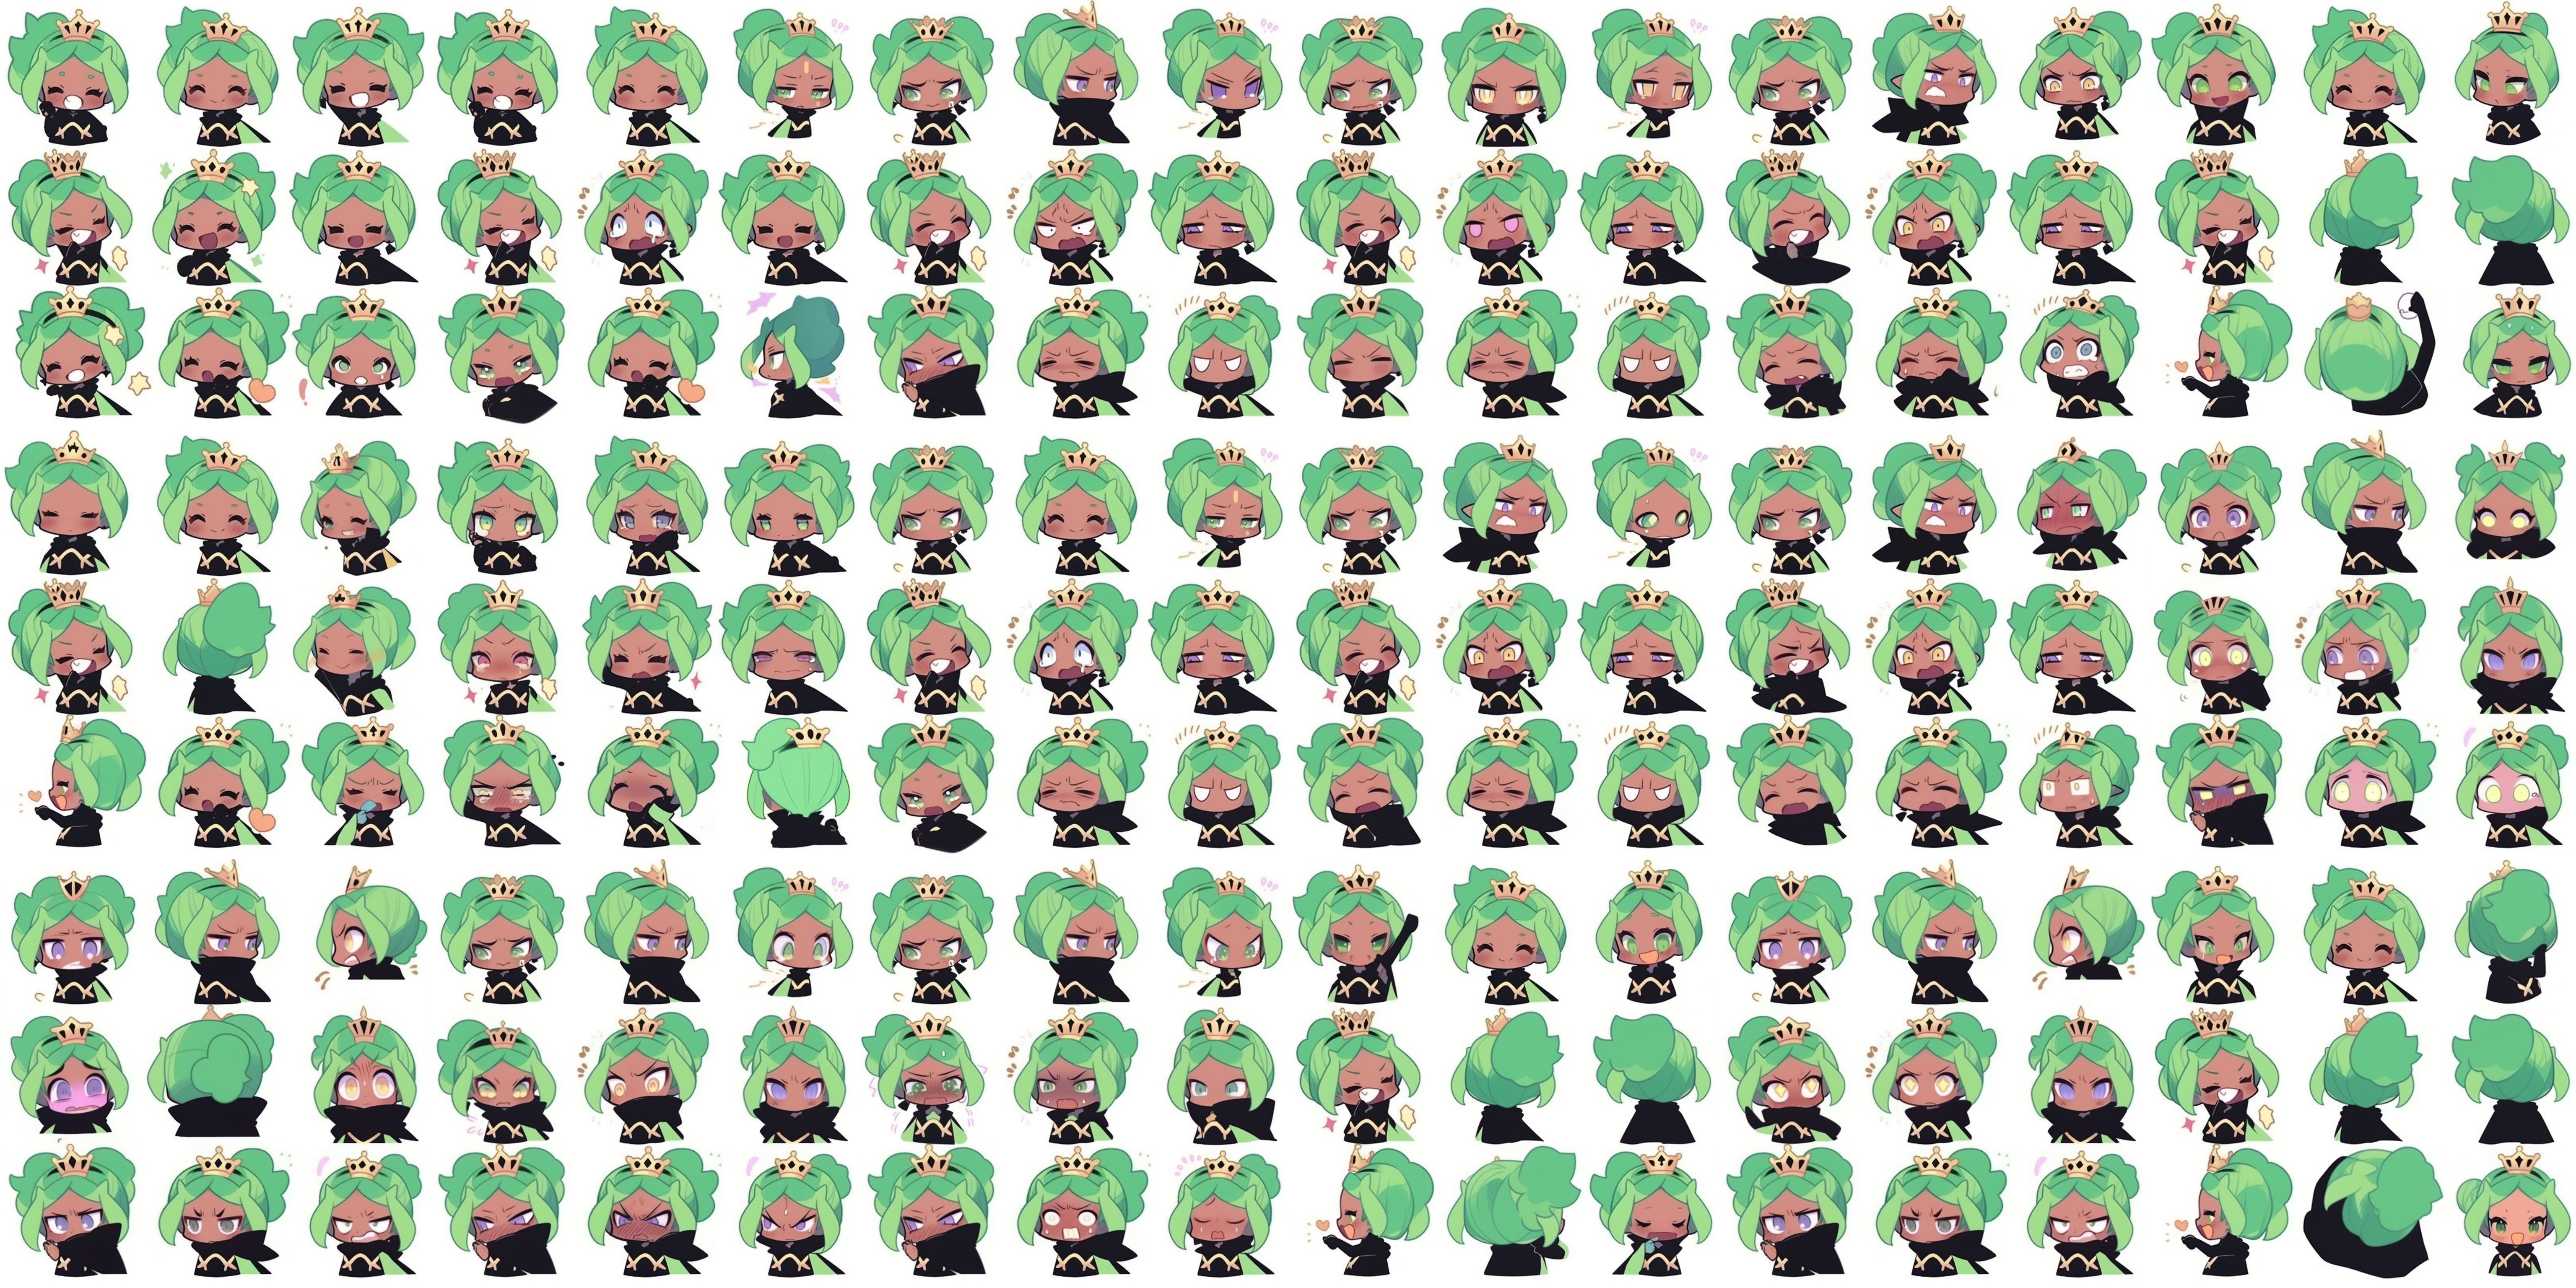 There's a bunch of repeats in here as I didn't feel like cutting out all the unique characters, but maybe I'll do that soon.
Please find me on Twitter (https://twitter.com/simeydotme) and share your creations with me, spread this post.
Thanks!